Lookbook Tutorial
Creating a new post with the Lookbook template
- Change the template to 'Lookbook'
- Add title and featured image
- Add body content, text and images
Add body content
Lorem ipsum dolor sit amet, consectetur adipiscing elit, sed do eiusmod tempor incididunt ut labore et dolore magna aliqua. Ut enim ad minim veniam, quis nostrud exercitation ullamco laboris nisi ut aliquip ex ea commodo consequat. Duis aute irure dolor in reprehenderit in voluptate velit esse cillum dolore eu fugiat nulla pariatur. Excepteur sint occaecat cupidatat non proident, sunt in culpa qui officia deserunt mollit anim id est laborum.
You can use the editing buttons above to do things like align text, change text style and change if the text is a Heading or Paragraph. However, some styling has been baked (coded) into the blog theme template, such as, font family, sizes and styles. Sometimes when you copy & paste into this field unexpected things can happen. If you have some experience with HTML, you can double check by clicking the "<>" button in the top right.
Adding Images


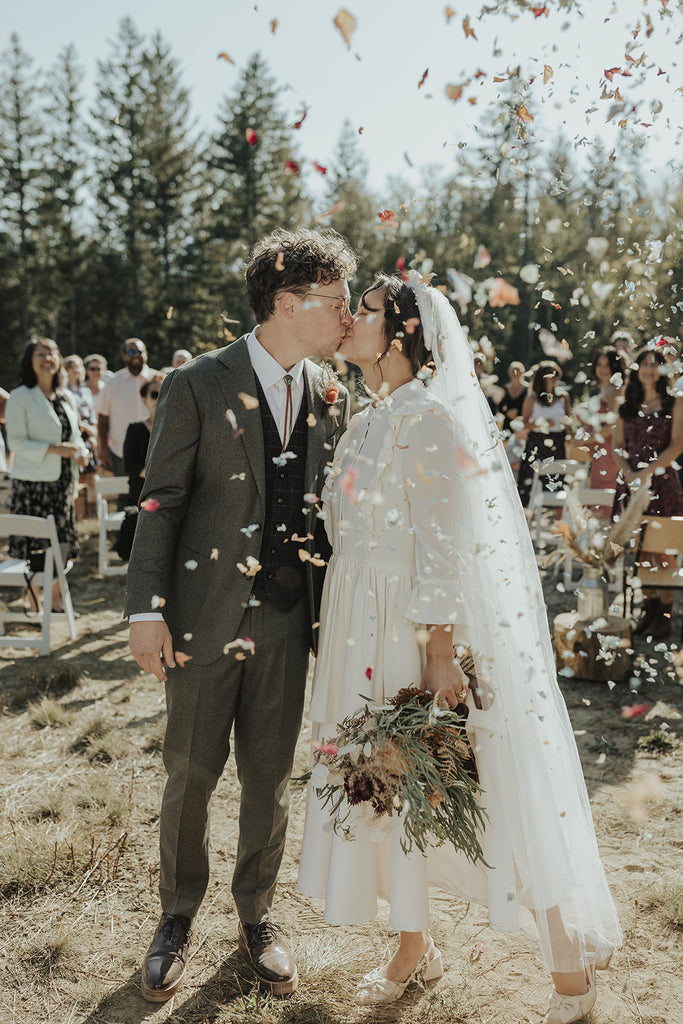
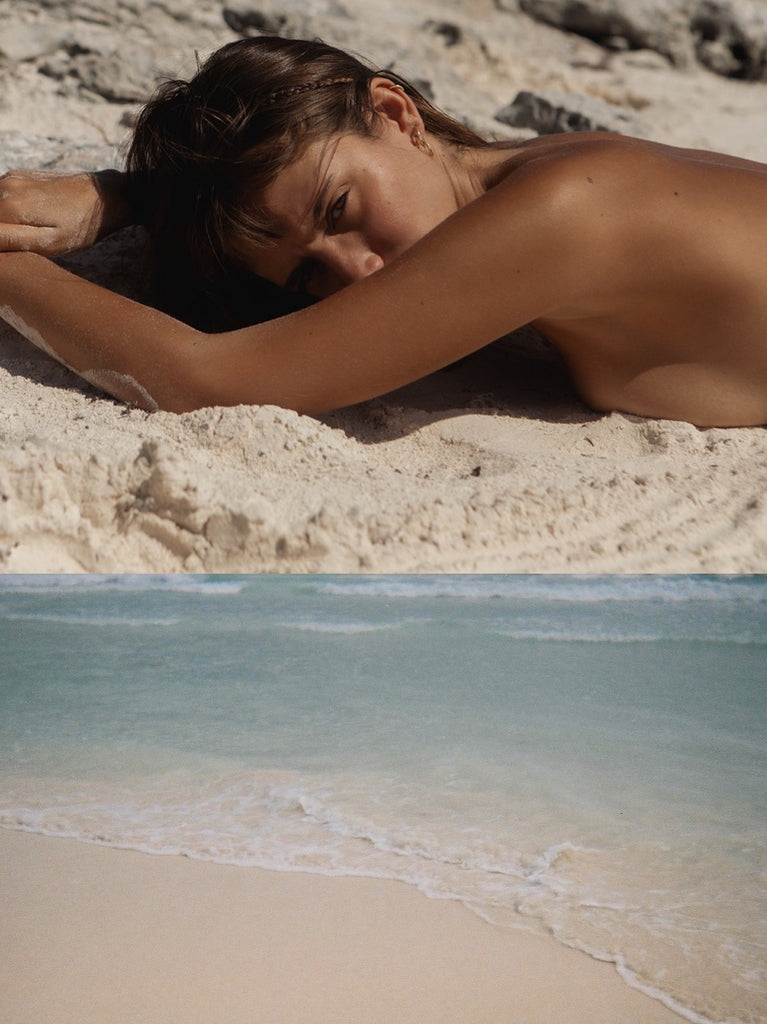
This template can display images in two ways, a single column or two columns. For single column, just add an image and then press enter to add the next image or more text. For two columns, add 1 image then, without pressing enter and with the cursor directly beside the image you have just added, add your next image.
If you click on the "<>" button, you can see the HTML output. For the two column layout the HTML should look like this:
<p><img src="https://cdn.shopify.com/s/files/1/1346/1679/files/Screenshot_23_bfcdc693-afd6-4ab6-a377-2879af4febd3_600x600.png?v=1644350097" alt="Lookbook tutorial image" /><img src="https://cdn.shopify.com/s/files/1/1346/1679/files/fd17_600x600.jpg?v=1644621180" alt="Lookbook tutorial image 2" /></p>
The '<p>' tag is wrapping the 2 <img> tags. Like this: <p><img /><img /></p>


When adding an image, you must fill in the 'alt' field or Shopify will not display the image on the page. As well, you can select the image size however the theme is set for images to always maintain certain aspect-ratios and will never be too small or large. The 600x600 is generally a great image size option.
Finishing Up
When you are finished adding/editing content, make sure you change the Visibility to Visible. In Organization, you may edit the authors name and the Blog it will be part of. You can also edit the SEO in the "Search engine listing preview" area below. Finally, double check the Template is set to "lookbook" and then hit save!